
|
How to use Soluling Cloud to create and build projects |
This tutorial shows you how to configure a cloud project, and how to build the localized files when using the cloud. You can either operate the cloud interactive using the Soluling desktop application, or you can operate it scripted using the Soluling command line application.
Click Translate | Configure Cloud button to configure your cloud settings. Configure Cloud dialog appears.

Enter your Soluling credentials and click Log in. Now Soluling connects to the Soluling Cloud. If you have multiple cloud accounts, select the one that you want to use.
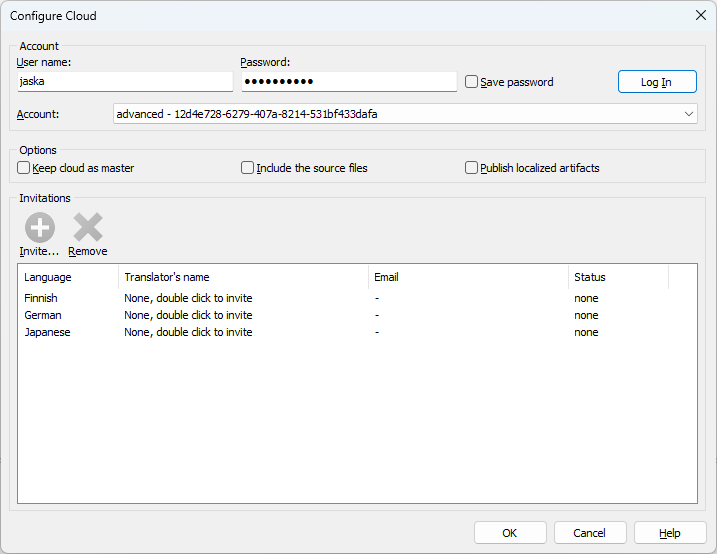
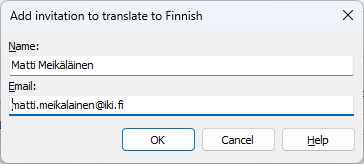
Add one ore more invitations. An invitation adds a translator for the project. It add an invitation select a language and click Invite. The invitation dialog appears. Enter translator's name and email and click OK.
Now you can see the invitation in the dialog. Add more invitations if needed.
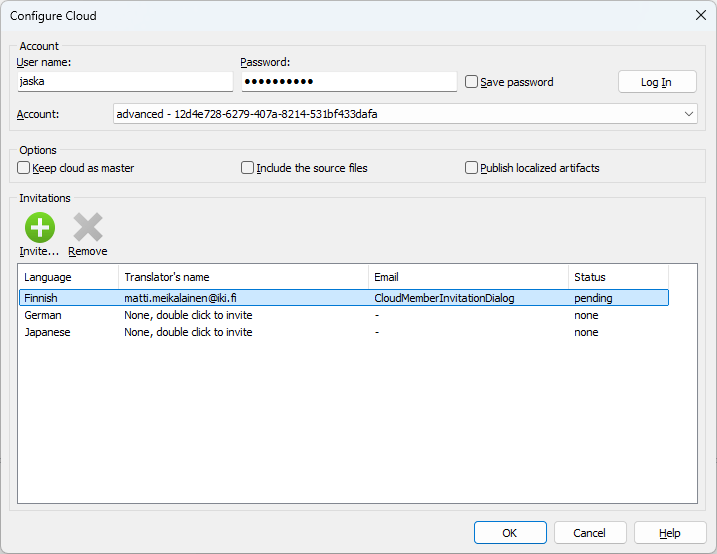
Finally click OK to create the project in the cloud. Once created, Soluling ask if you want to upload your local project to the cloud and save the its items there.
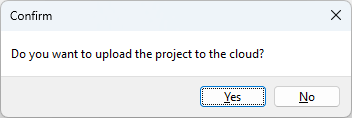
Click Yes. Soluling upload the project there. Once the upload is complete, the cloud start processing the project. This can take a few seconds and this is why Soluling ask if you want to wait it.
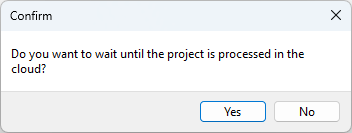
If you click Yes, Soluling waits until the project has been processed. If you click No, Soluling does not way but the processing will happen.
Now you created the project and it is ready for translator to start working. Soluling Cloud will send email to the translators you invited and they can start working.
If you change your application and after rescan new or changes strings appear, you should upload the project again. Now click Translate | Upload to Cloud button to upload the project. Soluling Cloud saferly updates the cloud project to match the locale project you just uploaded. If the cloud project has translations that the local does not yet have, the translations are kept in the cloud project.
Once translators have completed translation it is time to donwload translation from the cloud. Click Translate | Download from Cloud to download them. Soluling downloads the translations and merges them to your local project file (.ntp).
If you use a build automation such as a makefile or DevOps, you can do the cloud actions using Soluling command line application SoluMake.exe.
Use the upload command to create a cloud project. The following command creates a new cloud project called Sample and uploads a local project file, Sample.ntp, there. Use the username and password options to pass your Soluling account credentials. The username option can either contain your username or email.
SoluMake upload -username:"john@mail.com" -password:somepwd Sample.ntp
If a cloud project already exists, then the upload command uploads the local project file and updates the project data.
If you have multiple Soluling Cloud accounts, you can specify the account id by adding account option. The account id value is either an interget id or GUID/UUID.
SoluMake upload -username:"john@mail.com" -password:somepwd -account:12D4E728-6279-407A-8214-531BF433DAFB Sample.ntp
If you want to include the source files add sources option.
SoluMake upload -username:"john@mail.com" -password:somepwd -sources Sample.ntp
If you want that Soluling cloud builds and published the localized artifacts (i.e. to be used in OTA system) add artifacts option.
SoluMake upload -username:"john@mail.com" -password:somepwd -artifacts Sample.ntp
Upload is only first step in the cloud project creating/updating. The second step is the serialization where Soluling cloud processes the .ntp file and stores the rows and translations to a database. This might take a few seconds to complete. By default the upload command does not wait the project processing to complate but returns right after the project files have been uploaded. If you want to wait until the processing is complate add wait option.
SoluMake upload -username:"john@mail.com" -password:somepwd -wait Sample.ntp
Use invite command to add invitations for translators. The firstname and lastname options specify the name of the translator, the email option specifies her email address, and the lang option her language.
SoluMake invite -username:"john@mail.com" -password:somepwd -lang:de -firstname:Jane -lastname:Done -email:"jane@mail.com" Sample.ntp
Before you build the localized files your build automation need to get the most recent translation from the cloud to your local Soluling project file (.ntp). Use the download command to download the translations and to import them to your local project files.
SoluMake download -username:"john@mail.com" -password:somepwd Sample.ntp
When you no longer need your cloud project you can remove it using the delete command.
SoluMake delete -username:"john@mail.com" -password:somepwd Sample.ntp
Note! This permanently removes the could project.
 Copyright © 2016-2026 Soluling Oy