
|
Soluling Localization Tutorial |
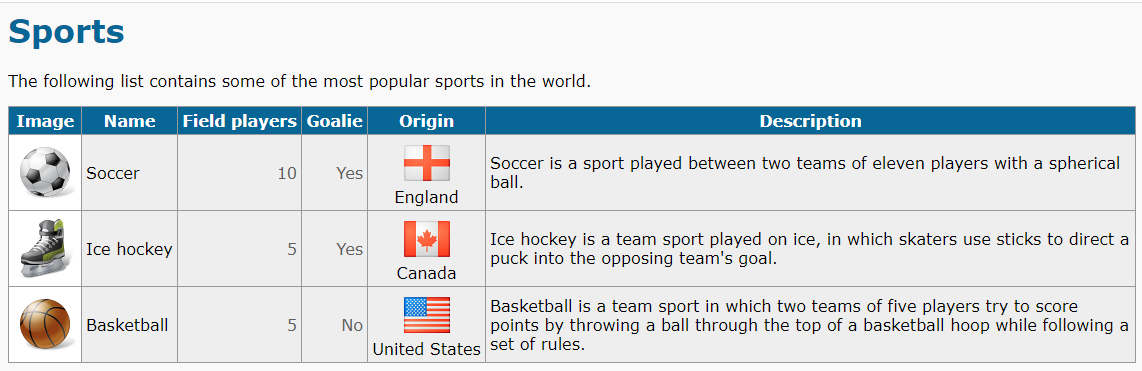
This is an extensive tutorial about how to use Soluling. In this tutorial, we will localize an HTML file. However, the process is the same no matter what kind of file, project, or database you are localizing. The HTML file is just a well-known file type, so it suits well for our purpose. Our sample HTML file is a page containing some data about some popular sports. You can find the file from <data-dir>\Samples\HTML\Sport.htm or from GitHub. Our file looks like this.
The first step is to create a Soluling project file. Its file extension is .ntp. The NTP file is an XML-based file that contains all the elements extracted from the source files or databases. The Soluling project file is the central piece of Soluling. All parts of Soluling, the desktop tool, the command-line tool, and the future cloud version, work on the same file type. Let's start by creating a new project file.
Start Soluling desktop tool, Soluling.exe. There are two ways you can create a new project. The first one is to use the Create New buttons on the main window's upper-left corner. The second one is to drag and drop the file or files to Soluling. Let's first click one of the create new buttons.
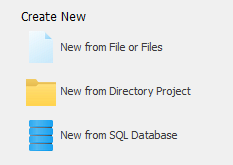
They all start Project Wizard that Soluling uses to create a new project. New from SQL Database starts the wizard in a database mode when you can select the database to be localized. New from Directory Project starts the wizard in a directory mode where you can select a directory-based software project (this is quite a rare case). Most of the time, you use New from Files or Files. That starts the wizard in a file mode when you can select a file, multiple files, or a file wildcard (e.g., *.html).
The first page of the Project Wizard lets you choose the file or files you want to localize. Browse the file you want to localize. Lets select Documents\Soluling\Samples\Sport\Sport.htm.
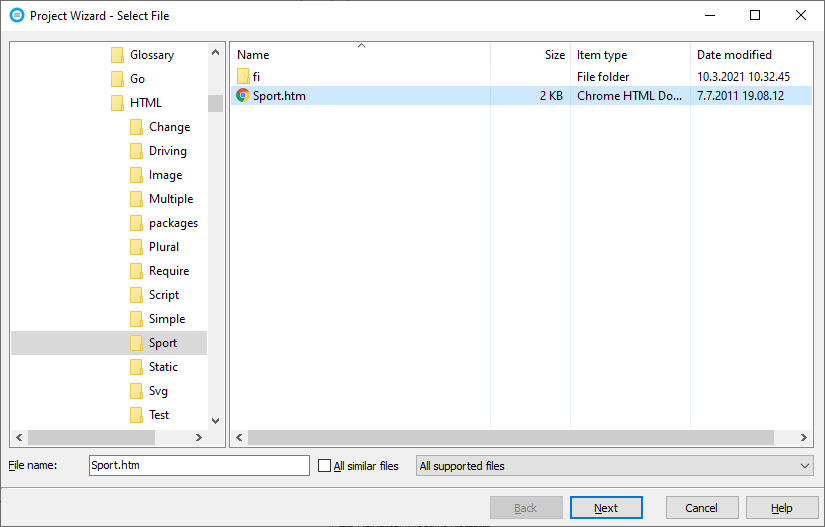
Note! You can select multiple files but keep in mind that all files have to be the same type. You cannot select one HTML and another XML. If you want to add both HTML and XML files to the project, you first have to select one and then choose Home | Project | Add File Source to run the Project Wizard in add source mode and select the XML file.
Note! You can use wildcards in the file name. The easiest way to do that is to select one file and then check All similar files check box.
Click Next to go to the next page of the wizard. Now, if you have exiting localized files, Soluling finds them and shows a page where you can check the files where you want to import translations.
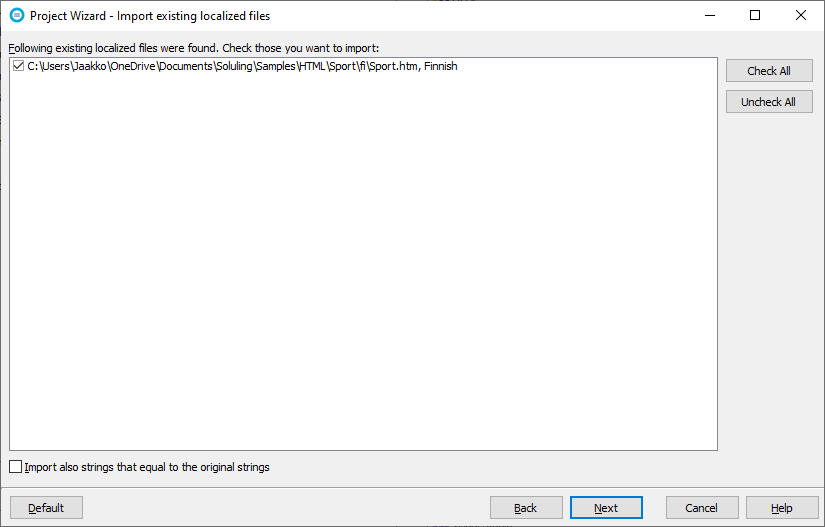
If you don't want to import translation from the Finnish file, uncheck the check box. Click Next. The final page, Select Languages, appears. The task here is to select the original language (if not detected) and to select the target languages. In our case, Soluling detected that the original file uses English. In addition, Soluling added Finnish as a target language because we selected to import translations from an existing Finnish file.
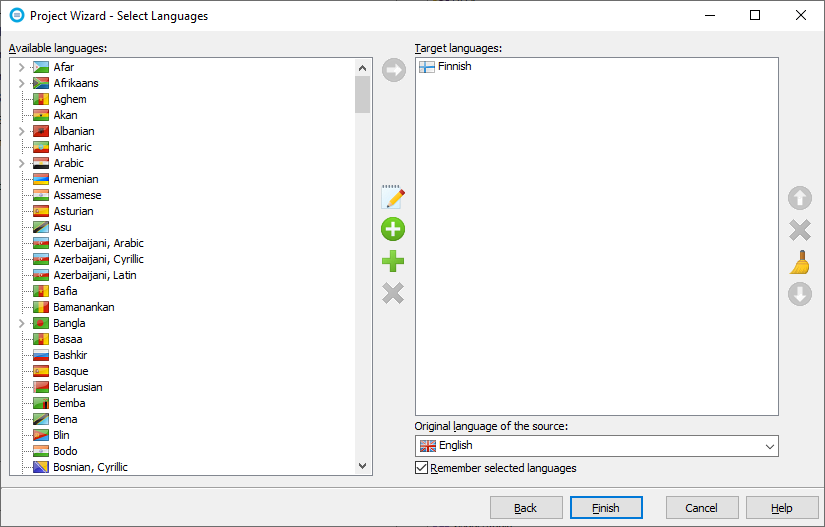
You can add any number of target languages. To add, select a language in the left side list and click the right arrow button. Let's select German and click the button. German appears in the target language list. Then let's select Japanese and drag and drop that to the target language list. Japanese appears in the list, too.

Note! You can add additional languages at any time after you have created the project. Choose Home | Language | Languages ribbon menu to add or remove languages.
Click Finish to complete the wizard. Now Soluling creates the project, scans the Sport.htm file to extract strings, imports translations from fi/Sport.htm, and finally opens the project.
You can use the command-line tool to create a project file, too. Use the add command.
SoluMake add -lang:fi;de;ja Sport.htm Sport.ntp
This creates a new Soluling project file, called Sport.ntp, for Sport.htm file, automatically detects the original language to be English and adds Finnish, German, and Japanese as target languages.
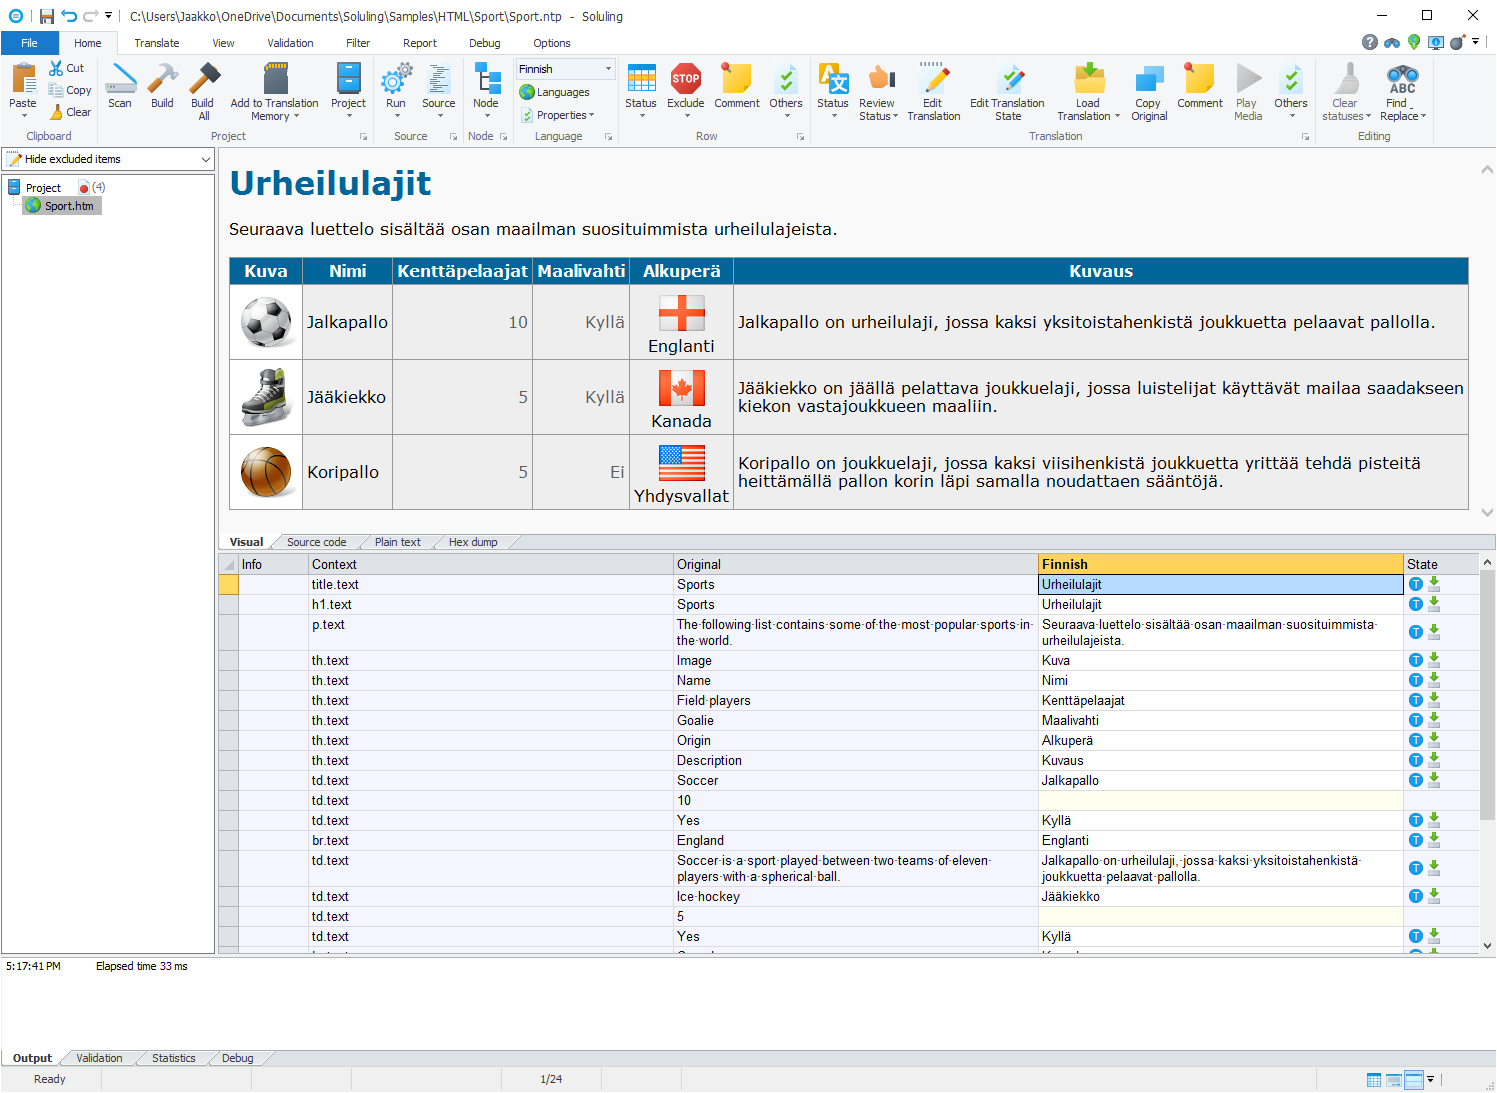
This is your main workspace. On the left side, you see the project tree, where you can select the item you want to translate. In the middle, we see the translation grid. It is an Excel-type grid that contains the rows of the selected item. Each row has context, original value, translated value, and state. The translation column is the area where you enter the translations. Because the Project Wizard imported the Finnish translations, the Finnish column already has the translations. The State column shows the properties of the translation. The blue T ball icon indicates that the translation status is Translated. The import icon next to the blue ball indicates the translation has been imported to the project.
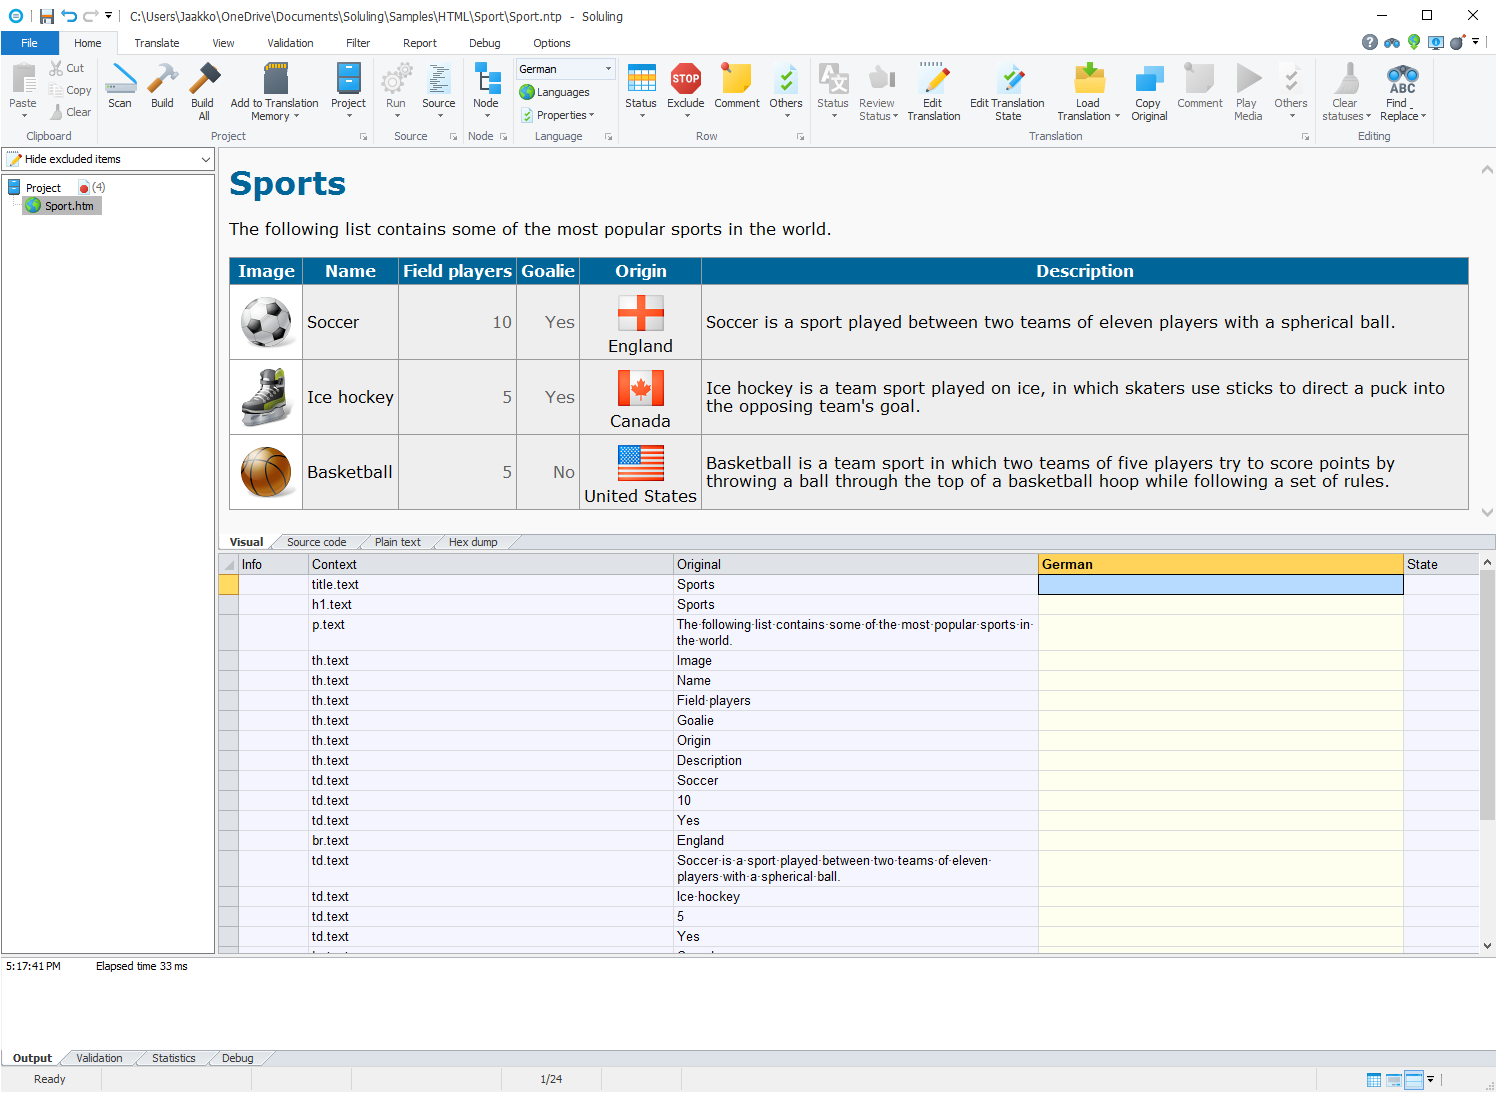
Now let's change the edit language to German. In the middle of the Home ribbon, there is a language combo box. Select German. The active language in the grid changes to German. Because there are no German translations, we see that the German column is empty, and also, the visual page editor shows the page in English.
We can translate the project in many different ways: translate ourself, use machine translation, or send for translation.
Select a cell where you want to enter a translation and start typing. The cell turns automatically into the edit mode. Enter F2 or double click to turn edit mode on without entering any characters. To exit the edit mode, press Enter. Soluling automatically selects the cell in the next row. Pressing Esc also exits the edit mode but does not select the next cell.
When you enter an edit mode, and at least one translation memory or machine translation engine is enabled, Soluling tries get matches from them. If found, Soluling shows them in a candidate list below the edited cell. If you want to select one from the list, use the Down array key to select the translation you want to use and press Enter. Soluling copies the selected translation from the list to the edit cell and closes the list. If you don't want to use any of the list's translations, press Esc to close the list.

If there is a perfect match, it will be at the top of the list with green color and a 100% info mark. The reduced or fuzzy matches will be marked with a perfect less than 100%. Machine translation matches are marked with the icon of the machine translation engine that produced them. The above candidate list has a perfect match first, following two machine translations from Google Cloud Translation and Microsoft Translator. The rest of the items in the list are either fuzzy matches or matches from the Microsoft Terminology service.
You can disable the translation candidate list by right mouse clicking anywhere in the grid and choosing Customize Grid menu, and then unchecking Show the translation candidate window.
You can also paste a translation from the clipboard. You don't have to be in the edit mode to paste. Just select the cell where you want to paste and press Ctrl+V. If the translation should be the same as the original value, you can quickly copy the original value by pressing Ctrl+Alt+C.
Use terminology to improve the translation quality.
Another way to translate is to use machine translation. To use machine translation, you have to configure at least one machine translation engine. Soluling supports several machine transaltion engines. Pick those you want to use and configure them. Let's configure Microsoft Translator. Select Options ribbon and click Machine Translations. Machine Translators option appears.
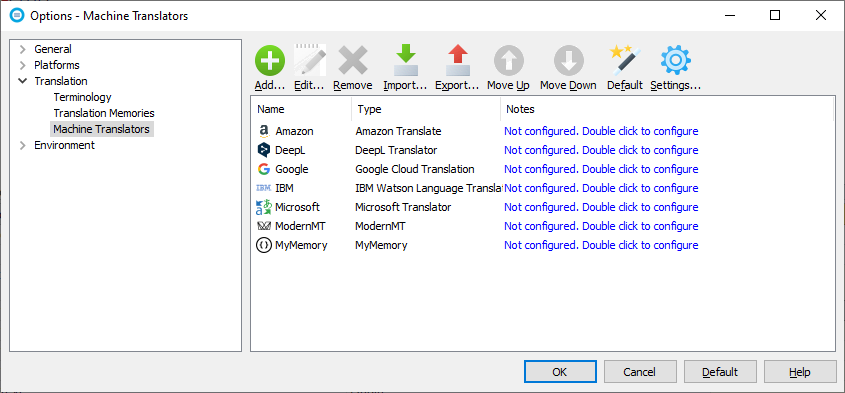
Double click Microsoft Translator to open the configuration dialog.
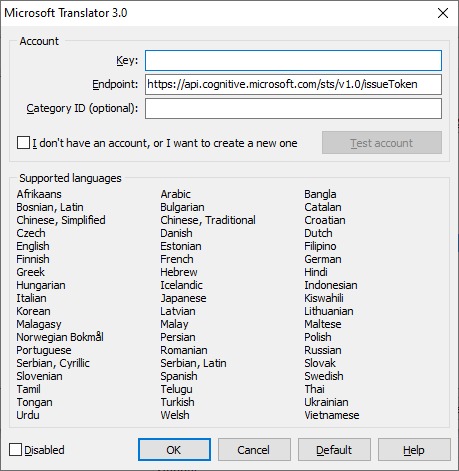
Check I don't have an account, or I want to create a new one check box to expand the Get account button and click it. Follow the instructions on the page to get your access key. Enter the key into the key field and click Test account to test that it works. Close the dialog by clicking the OK button. Your Microsoft Translator is now configured and ready to work.
Now when we have a working machine translator, we can start using it. There are two ways to use it. The first one we already went through. That is the moment you enter an edit mode in a translation cell. Soluling uses all configured machine translation engines to get matches. Another way is the bulk mode, where you translate multiple rows in one command. Right mouse click the German translation header in the grid and choose Machine Translate | Use Microsoft Translator menu to start the bulk translation. Soluling first asks you the scope. By default, it translates only the rows that belong to the item currently selected in the project tree. If you want to translate all rows of the project, check All rows.
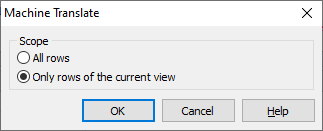
Click OK to start the translation process. If you have a large project, this might take some time. Our Sport sample is small, so it should not take more than a second or two. You can see that all German rows are not translated, and the status of each translation is a Best guess (B circle icon), and the origin is set to Machine translator (robot icon).
![]()
Now it is time to post-edit these translations. If you find the machine translation being right, click Ctrl+B to set the status to Complete and origin to Manual. If you want to set the status to complete but want to keep the Machine Translation origin, click Ctrl+P. If you see that there is something you need to change, go ahead and click F2 to enter the edit mode and modify the translation. After you have modified it, press Enter. The translation state changes to Translated and the origin to Manual.
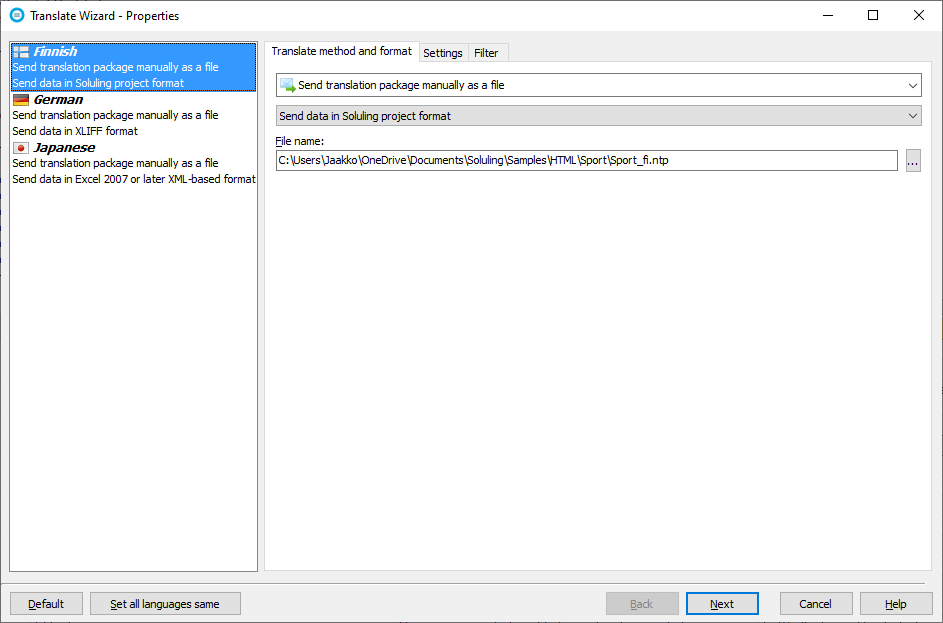
You might have a translator that is going to translate your project. To do that, we need to send the project to her. We have two choices. If the translator uses Soluling, then we can send her the Soluling project file (.ntp). The project file contains all she needs. However, it might contain too much. First of all, your project most likely contains several languages, but a single translator only handles one of them. Second, the project might contain several translations that are already completed. Sending them again to the translator might not be ideal. This is why Soluling has a feature to make translation kits. They are narrow-down versions of your project that contains only the selected language(s) and rows. Click Translate | Translate ribbon button to start the Translate Wizard.

Using this wizard, you can select how each language is delivered and in what format. In your sample, the Finnish translator uses Soluling, the German translator uses some other tool that can use XLIFF, and the Japanese translator uses Excel. In that case, you can configure the Finnish kit to be in Soluling format, the German kit to be in XLIFF, and the Japanese kit to be in Excel.
Once you complete the wizard, it will result in the output files for each language. Send them to your translator.

When your translator has completed the translation, she sends the translated file back to you. If the translator uses Soluling, you will get back the same file you send, except it contains the translations. You need to import the translations into your master file. Click Translate | Receive from translator ribbon button to start the Import Wizard. Use the default options. Now the translation has been imported. When importing from other formats but NTP click the Translate | Import ribbon button to start the Import Wizard.
You can use the command-line tool to create the exchange packages, too. Use the exchange command.
SoluMake exchange -lang:fi Sport_fi.ntp Sport.ntp
SoluMake exchange -lang:de Sport_de.xlf Sport.ntp
SoluMake exchange -lang:ja Sport_ja.xlsx Sport.ntp
This creates a Finnish Soluling translation kit, called Sport_fi.ntp. Use the import command to import translations.
SoluMake import Sport_fi.ntp Sport.ntp
SoluMake import -lang:de Sport_de.xlf Sport.ntp
SoluMake import -columns:co;en;ja -lang:ja Sport_ja.xlsx Sport.ntp
To learn more about the options enter
SoluMake import
Now when we have translated the project, it is time to create the localized files. Click the Home | Build All ribbon button to create the localized files. Soluling creates fi\Sport.htm, de\Sport.htm, and ja\Sport.htm files. You can create just one language by clicking the Home | Build ribbon button. Soluling creates the localized file to the output file/directory. The default file name and directory name depends on the file format, but in most cases, there is a language-specific output directory (e.g., "fi" for Finnish), and Soluling creates the localized file there with the same name as the original file. You can change the output directory and file name using the Output sheet of the source dialog. Click on the right mouse the Sport.htm node in the project tree and choose the Options menu.
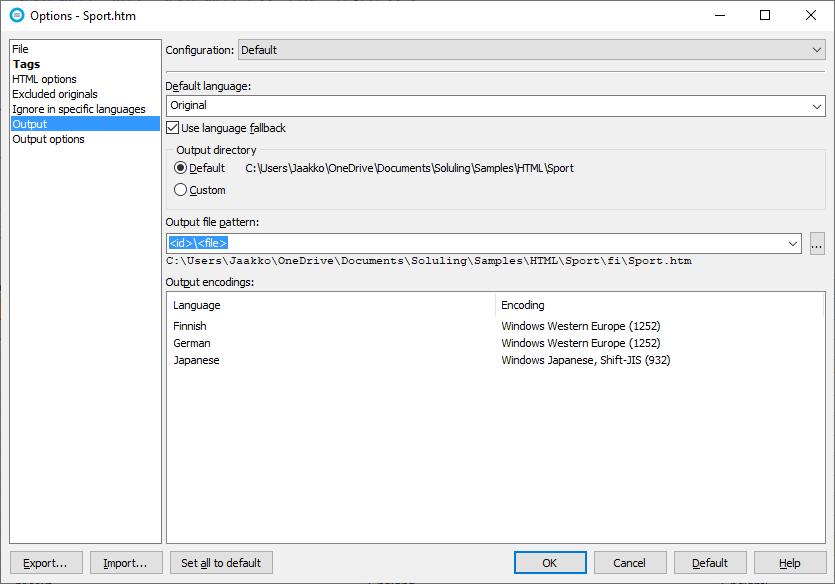
The output directory specifies the output root directory. By default, this is the same as the directory of your original file. Check Custom to specify any other directory. The output file pattern specifies how the file is written into this output root directory. For example, <id>\<file> means that use a language id specific subdirectory and then the same same as the original file.
You can use the command-line tool to create the localized files, too. Use the build command.
SoluMake build Sport.ntp
Because the build command is the default command you can omit it.
SoluMake Sport.ntp
To learn more about the options enter
SoluMake build
Now you have complete the first round of translation. If your original files changes, you need to update your project file and optionally translate the new and changed strings. In the last part of this tutorial, we will go through this process.
Every time you change the original file and plan to use or deploy it, you should do two things. The first is to use Soluling to scan for changes. The second is to use Soluling to build the localized files.
Let's first look at the scan for changes operation. Click the Home | Scan ribbon button to scan for changes. Soluling read the original file again, and if it finds any new or changes strings, it will add new rows or update existing ones. The new and changed rows are marked with yellow (new) and red (changed) dots. This way, you can easily see what new or changes are. You can use the filter to show only new and changed items. Click the right mouse anywhere on the grid and choose the Filter menu.
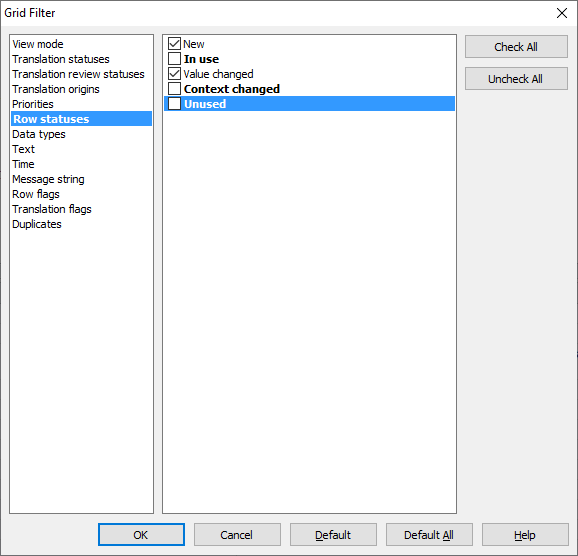
Click OK, and now the grid uses only the new and changed item. An alternative way is to turn Filter Panel visible and then use the check box in the panel. To turn the panel visible check View | Filter Panel ribbon button. Then uncheck In use, Contex changed, and Unused checkboxes.
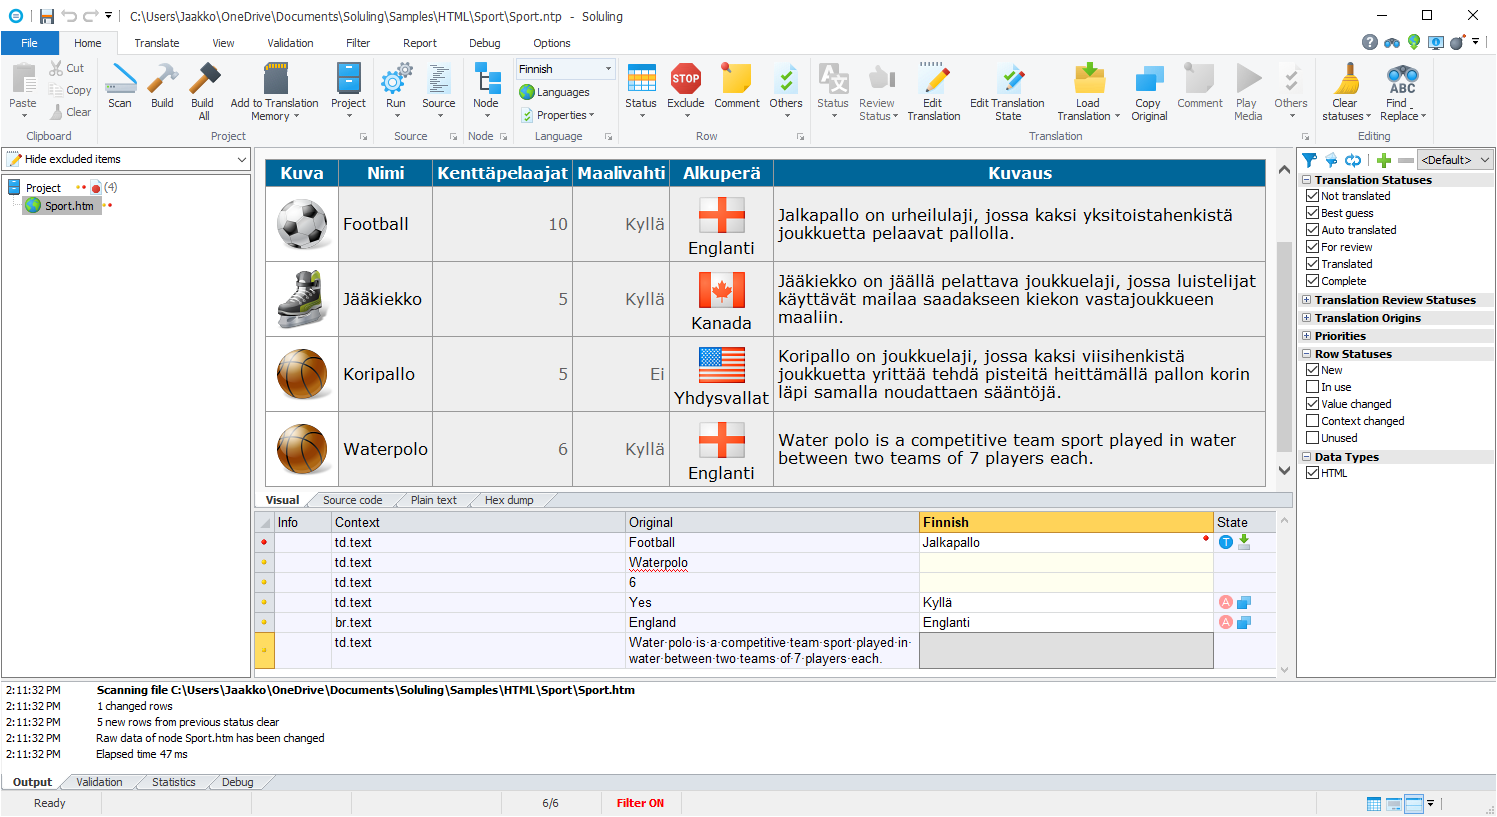
You can see that soccer's original value has been changed from "Soccer" to "Football". This row has been marked as changed, and the red dot indicates that. In addition, a section for Waterpolo has been added. These rows all have New status marked with yellow dots. In addition, the project tree contains the same dots indicating that the node (Sport.htm) has both new and changed rows.
Because we have new and changed rows, we need to send the new and changed items to translators. Start the Translate Wizard. Select Finnish and then select Filter. Uncheck all, but New and Value changed. Now when Soluling create the translation kit, only new and changed rows are included.

Set the same filter in German and Japanese settings, too. Finally, finish the wizard by clicking Next. The wizard creates a new set of files that contain the new and changed items. Send them to your translator and import the translations once you get the files back. After that, create the localized files.
You can automate this by using the command-line tool, SoluMake. Usually, a good place to do that is during the build automation. Install SoluMake into your build server and add the necessary commands.
![]() Copyright © 2016-2026 Soluling Oy
Copyright © 2016-2026 Soluling Oy