
|
INI Localization and Internationalization |
INI file (Wikipedia) a text-based de facto standard for configuration files. Soluling localization tool and service support INI. You might have a standalone INI file that needs to be localized, or your other file (e.g., application) contains embedded INI data that needs to be localized. Soluling can handle them both.
The end of the document contains links to get the full source code of the samples. After reading this document, we recommend reading a tutorial about how to use Soluling.
An INI file contains sections, and each section contains zero or more properties. Let's look at a sample file. You can find it in <data-dir>\Samples\Ini\Simple\Simple.ini.
[simple]
product=Skim milk
code=skim
price=1.15
onsale=0
The sample file contains one section that has four properties. Product property contains a string value, "Skim milk." It should be localized. Code property contains a string value, "skim," but it should not be localized. Price property contains a number value, 1.15. Onsale property contains a boolean value, 0 (false). If we want to localize the file to Finnish, we would like to see a file like this:
[simple]
product=Rasvaton maito
code=skim
price=1.15
onsale=0
The Finnish file is identical to the original English file except instead of "Skim milk" we have now "Rasvaton maito." Japanese file would be like this:
[simple]
product=脱脂粉乳
code=skim
price=1.15
onsale=0
Here is the process for localizing INI files. Soluling is a hybrid localization tool, which means you can use the cloud tool, the desktop tools, or both.
 Cloud process
With Soluling Cloud, you localize an INI file in your browser: upload the file, translate it in Translate, and download the localized files. You need a Soluling account. See the available Cloud plans. The steps below use the sample file shown above. Save it as Simple.ini, or use the Simple.ini sample file in GitHub.
Simple.ini, or drag and drop the file onto the page. Click Create.Simple.ini is written in.Soluling scans the file and makes a row of each string property, using the section and property names, here simple and product, as the row's context. The number and boolean properties are skipped. The code property also contains a string, so it becomes a row, too. Leave it untranslated: a property without a translation keeps its original value in the localized files. If you want to exclude such properties from the project, use the Desktop process described below, where you can select the properties to localize.
Click the project's green Translate button on the dashboard. Translate opens the project, and you can type the translations into the grid. Machine translation suggestions, translation memory, and spell checking are available there. You do not have to finish every language before moving on to the next step.
Simple.ini with a download button for each target language. Click a language to download Simple.ini localized into that language, like the Finnish and Japanese files shown above.When the INI file changes, upload the new version, translate what is new or changed, and download the localized files again. For example, add a description=Fat-free milk property to Simple.ini. Then, on the dashboard, click the project's Update file button (the upload arrow), select the edited Simple.ini or drop it onto the page, and click Update. If the project has several files, use the file's own Manage file button in the project's Files section instead.
Existing translations are kept, so you only translate the rows that were added or changed. Because each row's context comes from the section and property names, adding, removing, or reordering properties does not affect the translations of the other properties. Renaming a section or a property does, so avoid renaming them once translation has started.
The dashboard is one of four ways to use Soluling Cloud. You can also use the SoluCLI command-line tool, Soluling Desktop, or SoluMake. See the Cloud tutorial for all of them.
 Desktop process
Start by creating a new project for Simple.ini. The Project Wizard will first detect the format of INI file and shows Options sheet that lets you specify the detailed format.
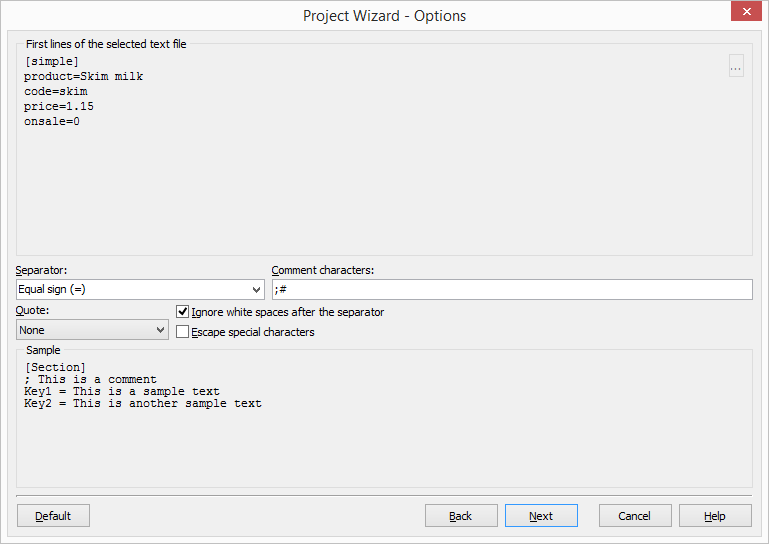
If Soluling did not detect the format of your INI file correctly, change the settings to match your file. Click Next button. Items sheet appears.

You have two options to specify what to localize. The first option, Localize all items of selected types, is to localize all items that contain certain types of values. By default, the type is a string so that Soluling will localize all properties containing strings values. The second option, Select items you want to localize, is to select those properties that you want to localize. Which one you use depends on your file. If the file contains only localizable properties, or if all string properties should be localized or your file is very big, then you better choose Localize all items of selected types. If only some of the string properties should be localized, then you better choose Select items you want to localize. We will go through both methods. Let's start with Localize all items of selected types. Click Next button. Data types sheet appears.
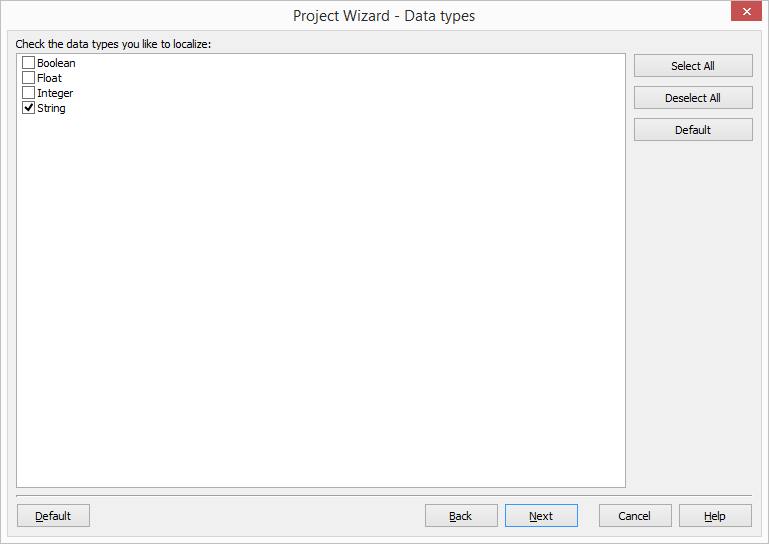
This sheet lets you choose what data types are localized. The list contains all the data types that your file contains. Check those types you want to localize. Uncheck those types you don't want to localize. We want to localize only strings so leave String check box checked and all others unchecked. Click Next button. The Select languages sheet appears. Add the target languages and click Next button to create the project.
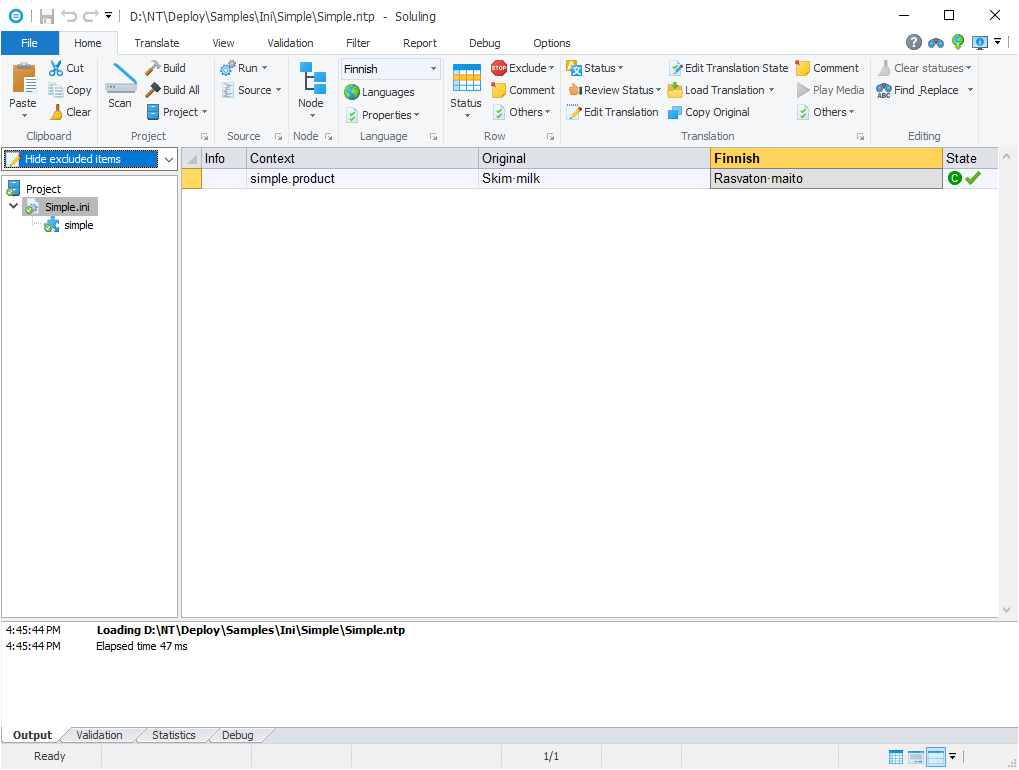
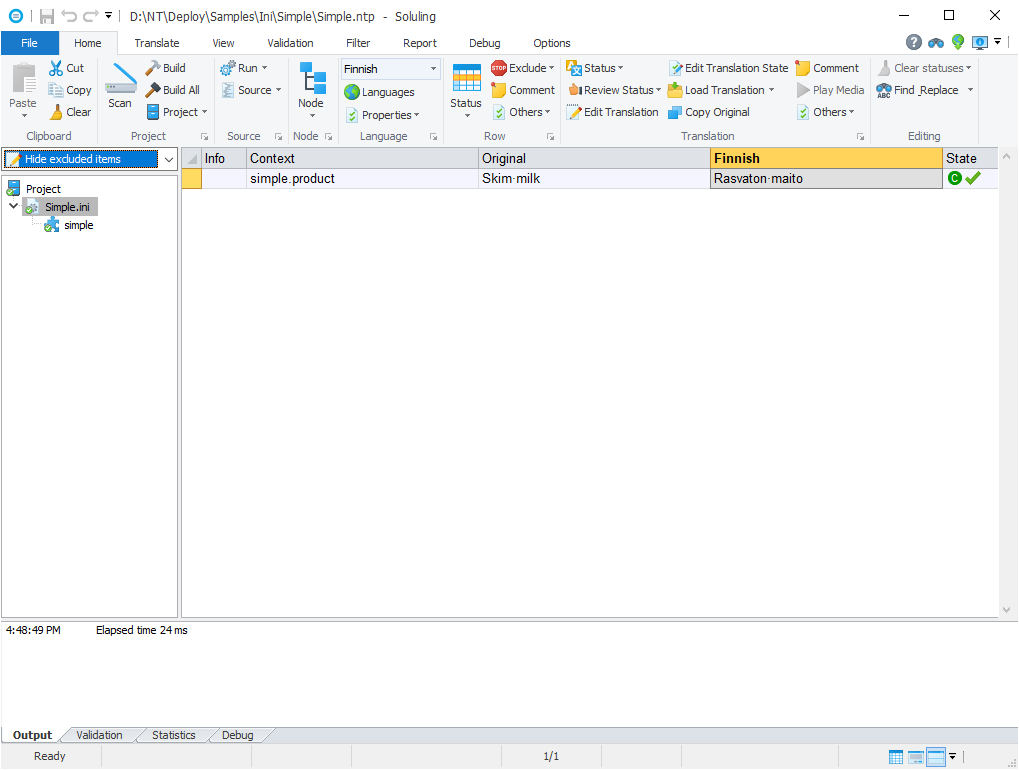
Soluling extracted all string properties from the file. There are two rows: product and code. However, code property should not be localized. We have few options here. The first one is to mark that row as Do not translate. If you do that the row remains in the project, but it is turned read only and translator cannot enter or import any translations for it. To mark a row as Do not translate, right-click on the yellow square on the left side of the row and choose Do not translate.
Another option is to exclude the row. If you do that the row disappears from the project. To exclude a row right-click on the yellow square on the left side of the row and choose Exclude | Only this Row.
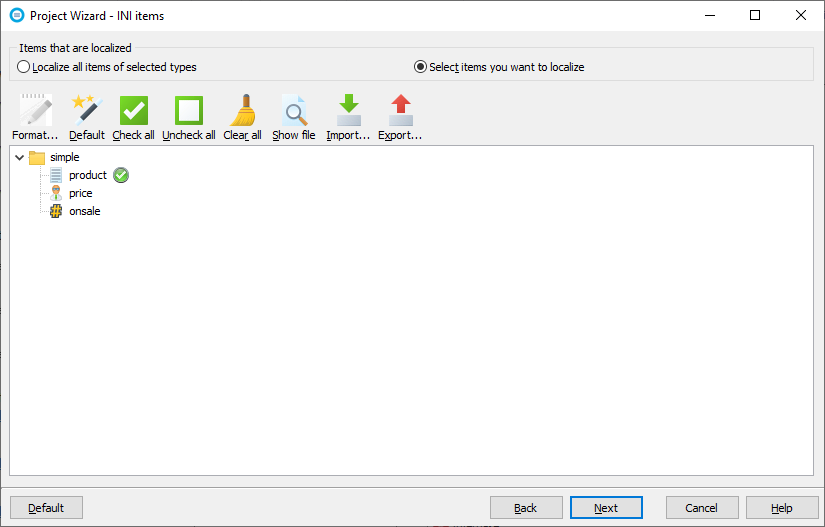
The third option is to make Soluling to localize only the selected properties. Select Simple.ini in the project tree and right-click. Choose Properties. Source dialog appears. Select Items sheet. Check Select items you want to localize radio button. Finally, double-click code item in the INI tree to uncheck it.
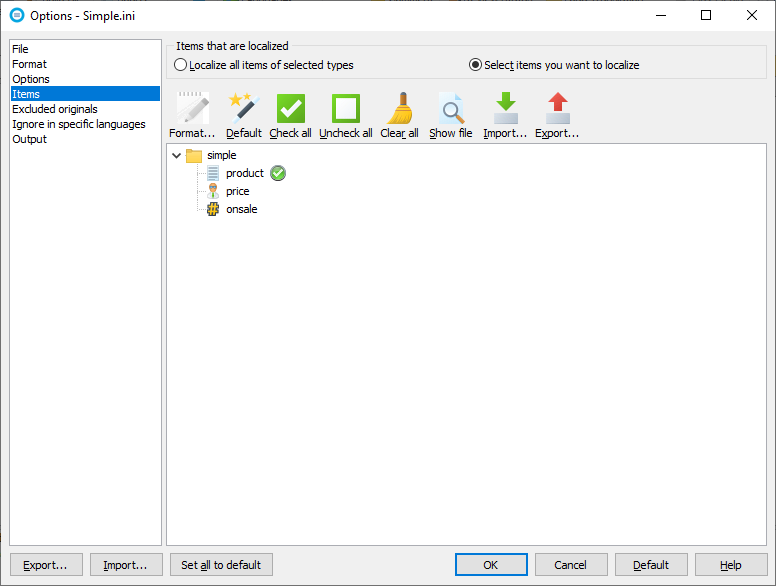
Now you have told Soluling to localize only product property and to ignore all other properties. Click OK to accept the new settings. Soluling recognizes that properties have been changed and asks to rescan the project.
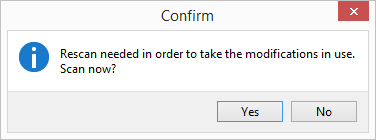
Click Yes. Soluling rescans the project and because code property is not set to be localized any more it will disappear.
When you create a project you can directly select the properties that are localized in Items sheet of Project Wizard.
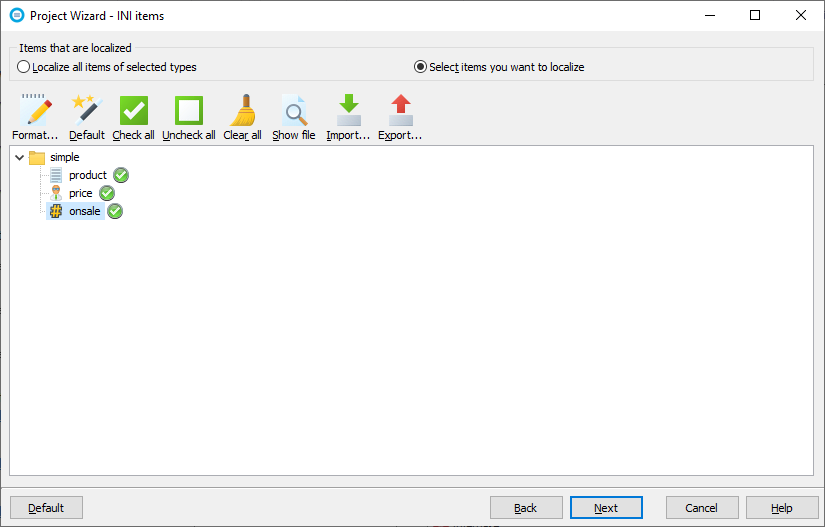
You can also set non-string properties to be localized. Double-click price node to check it. Right-click onsale node and choose Select data format | Boolean to set the data type to boolean and to check it.
You can read more about selecting items to be localized.
GitHub and <data-dir>\Samples\Ini contains following INI sample directories:
| GitHub/Directory | Description |
|---|---|
| Simple | A simple INI file. Study this first. |
| Boolean | A sample file that contains boolean values. |
| Data | A sample file that contains binary data encoded as base64 strings. |
| Encoding | Sample files that use various character encodings. |
| Image | A sample file that contains base64, base32, base16/hex and URL encoded images. |
| NewLine | Sample files that use various new line combinations. |
| NonEnglish | Sample files that use some other language but English. |
| Sport | A sample file that contains text and numbers. |
| Types | A sample file that contains various data types and a property that uses expression. |
You can configure how to localize your INI file or data by selecting the item in the project tree, right-clicking, and choosing the Options menu. A source dialog appears that lets you edit the options. This source uses the following option sheets.
Settings
Read more about other data files such as XML, XSL, JSON, YAML, INI, Excel, SVG, TMX, XLIFF, text and binary files.
 Copyright © 2016-2026 Soluling Oy